This past weekend I watched the film
Submarine with my boyfriend after having gone to dinner at the posh French restaurant,
George's, to celebrate our four year anniversary
. Armed with full tummies and extremely satisfied appetites, we finally got around to watching this film on my laptop (we are
huge Alex Turner/Arctic Monkeys fans, and we simply couldn't wait to hear the beautiful soundtrack our baby had composed for the film). Anyway, although this seems like an off course story, you'll soon see its relevance - I promise!
So we watched it and I was (and still am) immediately inspired by the beautiful and unique cinematography and characters themselves. I absolutely adored the pale colors sharply contrasted with vibrant reds and deep shades of navy and black. Because of this, I wanted to create Submarine-inspired nails! At first I attempted to do so by choosing the most Submarine-esque colors from my nail polish collection and marble it, but I ended up just getting a look at was vibrant, but in all the wrong ways. And although this was a bummer, the jumble of bright colors did set me on the track to De Stijl nails! :)
Inspiration:
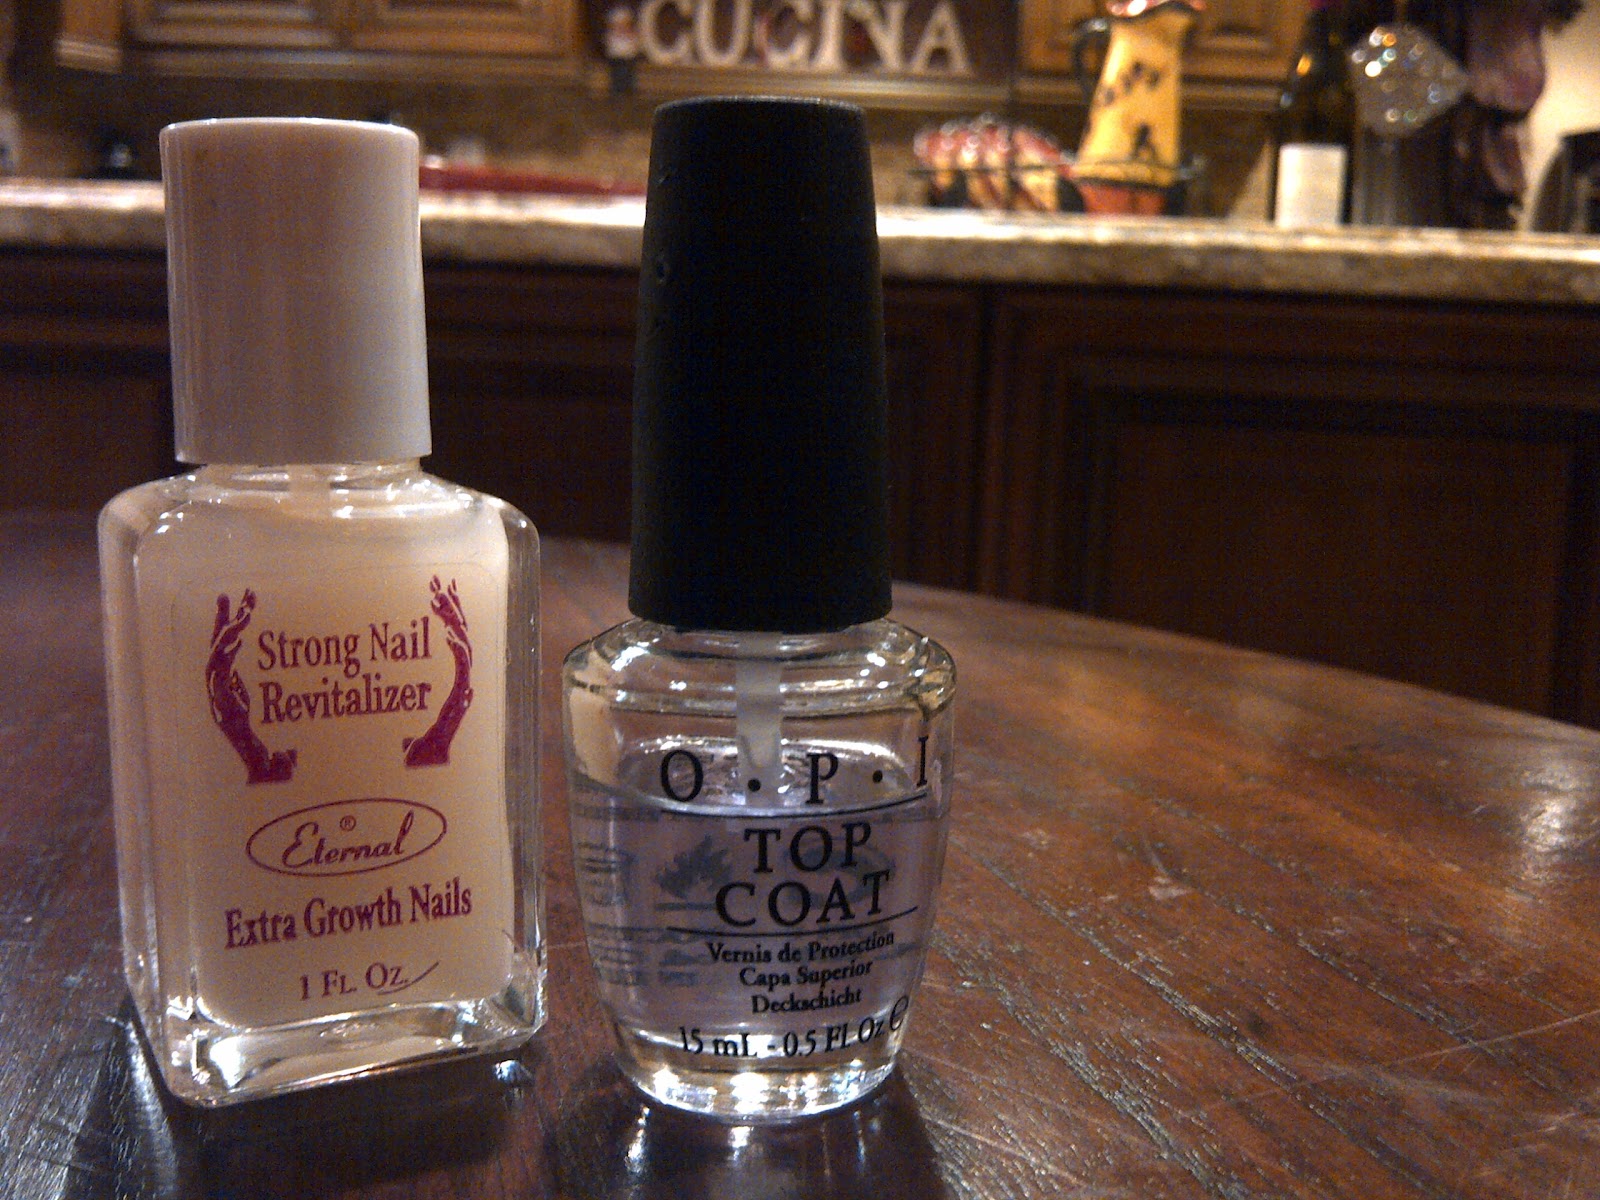
Products:
(Rimmel London Top Coat/Base Coat Pro, OPI Top Coat, Essie Marshmallow, Milani Nail Art Black Sketch, OPI Lucerne-tainly Look Marvelous, OPI Katy Perry The One That Got Away, Milani Reddest Red. The blue and yellow polishes were part of a 4 piece nail polish set I bought once at Urban Outfitters and don't have names, sorry!)
How To:
- Apply base coat (I used the Rimmel London Base Coat); let dry.
- Paint nail with two coats of any white nail polish to use as a base (I used Marshmallow by Essie)
- Using your Nail Art nail polish (after the white base has dried), carefully paint the basic line patterns you would like to use on your nails - remember to keep it very clean and give yourself adequate space to apply blocks of color! Note: I used a white base because my yellow & blue paints were relatively thin and thus required a base in order to have a bolder hue, but it if you do not have this same issue with your colored polishes, the white base coat is not necessary.
- Once you've plotted out your lines and they have dried (make sure they dry so you can avoid the black (or whichever color you are using for your lines) mixing with the colors in the blocks, choose your first color.
- As carefully as possible, choose a block to fill in with the color you have chosen. Make sure there isn't a build up or little bubble of paint on your brush before you start applying any colors - you don't want the glob to fall on your nail and ruin all your work! Note: You may want to apply this same color to a certain block on each nail at this time to streamline the painting process.
- Repeat step 6 with the rest of the colors you've chosen. Go over each color with a second coat of polish.
- Go over the black lines you initially framed your blocks with in order to make your nails look cleaner and more precise.
- Allow nails to completely dry before applying your top coat! You don't want the lines or colors to run/smudge after all that hard work (trust me, it happened to me, and the repairing process took way longer than it would have if I just would have been patient).
- Once you've applied your top coat, allow your nails to dry once more.
- Take a few Q-Tips and Nail Polish Remover. Pull as much of the cotton off the end of the Q-Tip as possible so you are left with a thin layer of cotton. rub this stray cotton in a clockwise motion around the stick of the Q-Tip so that it all adheres to the stick.
- Pour some nail polish remover into the cap of the bottle and dip your Q-Tip into the cap.
- Use this damp Q-Tip to clean the edges around your nails and finally get that fresh, clean manicured look! :)
As you can see, this is a very time-consuming manicure that requires tons of patience, but it is well-wroth it! Not only will you yourself not be able to stop staring at your fabulous nails once they are completed, but your friends will be swooning over them as well!
Finished Product:
Voila!
I hope you've enjoyed this nail tutorial & I apologize for the somewhat low quality photography, haha. I used solely my MacBook Pro and handy Blackberry's cameras to make this magic, so the photography is understandably a bit fuzzy and all that. Anyway, hope you all go out there and try this super fun look that even Mondrian himself would be proud of, and you definitely don't have to be some skilled nail artist to create. :)
Thanks for reading!